Installing Heavy Granite Garden Monuments: A Step-by-Step Guide
What Goes Into Setting A Granite Monument - There's More Than You Think.
Table of Contents
Planning Your Installation Site
Assessing Ground Conditions and Drainage
Checking Cemetery Rules and Property Constraints
Granite Monument Base Preparation
Sizing the Base to the Load, Not to Guesswork
Excavating and Leveling the Ground
Creating a Stable Aggregate Foundation
Building the Concrete Foundation
Calculating Foundation Depth and Size
Pouring and Curing Your Concrete Base
Moving Heavy Stone Monuments Safely
Know the Weight Before You Lift
Equipment and Crew Size Requirements
Safe Handling and Transport Techniques
Protecting the Surface While You Handle It
When the Move Is Beyond DIY
How to Level a Stone Monument and Secure It
Positioning and Using Adhesive
Anchoring Against Wind and Movement
Outdoor Granite Memorial Maintenance
When to Hire a Professional Installer
Frequently Asked Questions
Planning Your Installation Site
Installing heavy granite garden monuments requires careful planning before you break ground. Your site choice affects stability, weather resistance, and whether you'll need permits.

Assessing Ground Conditions and Drainage
Walk the site during or after rain.
Check what's underneath. Clay holds water and compacts poorly; sand drains but offers less stability; rock is ideal but you'll hit it when digging.
In colder regions, seasonal freeze-thaw movement can crack granite or tip a monument. The deeper your foundation, the better it resists frost heave, so plan depth around your local frost line.
Checking Cemetery Rules and Property Constraints
Most cemeteries strictly regulate monument size, materials, foundation depth, and placement, and violations mean removal. Call the cemetery office before you design anything and get their requirements in writing. Ask about:
Maximum height and width allowed
Approved materials (granite is usually fine, but confirm)
Foundation depth and type required
Distance from property lines or other graves
Installation timeline restrictions
Whether they require a licensed installer
Some cemeteries require their approved contractor, others allow DIY, and some require staged inspections. On private property, check local zoning laws, some jurisdictions require permits above a certain height.
Granite Monument Base Preparation
A strong base prevents tipping, cracking, and settling, this is where most installations succeed or fail. Granite is dense, roughly 165 to 175 pounds per cubic foot, so even a modest monument concentrates serious load on a small footprint.
Sizing the Base to the Load, Not to Guesswork
Before you dig, estimate the monument's weight and footprint. Granite weight is predictable: multiply volume in cubic feet by about 170 pounds.
That weight has to spread. Bearing area is the bottom face of the lowest piece, the part touching your prepared ground or concrete.
A practical rule most installers follow: the prepared base should extend at least 6 inches beyond the monument's footprint on every side, and more on soft ground.
Excavating and Leveling the Ground
Mark out your installation area bigger than the monument's base, the 6-inch overhang on all sides is your working margin.
Excavate the top layer of soil, removing grass, roots, and loose material, and dig down to firm, undisturbed soil, usually 6 to 12 inches.
Level the excavated area, high and low spots cause uneven pressure on the base, which leads to cracking.
Creating a Stable Aggregate Foundation
Once the ground is level and firm, spread 4 to 6 inches of coarse, angular aggregate, often sold as crushed stone or 3/4-inch clean stone, not fine sand or rounded pea gravel. Angular stone interlocks when compacted; rounded stone rolls and never locks.
Compact thoroughly with a hand tamper or plate compactor, working in layers if you're using more than 4 inches: add 2 inches, compact, add more, compact again. When you walk on it, the aggregate should not move or shift.
Pro Tip If the soil is soft, organic, or fill dirt, remove it entirely and replace it with compacted aggregate rather than trying to compact the native soil. Fill dirt rarely reaches the bearing strength a granite monument needs.
Building the Concrete Foundation
Concrete is the standard foundation for installing heavy granite garden monuments. It's durable, stable, and lasts decades.
Upstate Stone Works
Calculating Foundation Depth and Size
Foundation depth depends on climate. In areas with hard freezes, frost can penetrate 3 to 4 feet, so your foundation should go below the frost line.
A typical garden monument foundation is 12 to 24 inches deep; larger or heavier monuments need deeper foundations.
Concrete should be at least 4 inches thick, and thicker for heavy pieces, 6 inches is common for monuments over 1,500 pounds.
Pouring and Curing Your Concrete Base
Build level, square forms around your excavated area using wood or metal, then pour a standard outdoor concrete mix, mixed according to package directions. Spread it evenly, strike off the excess with a straight edge, and smooth with a trowel. Let it cure before placing the monument: at least 48 hours, and a full week if you can.
Moving Heavy Stone Monuments Safely
Granite is unforgiving. Drop it and it chips or shatters along a natural seam; tip it and it crushes whatever is underneath. Moving heavy stone monuments safely is a rigging problem, not a muscle problem, and the most common mistake is treating it like furniture.
Know the Weight Before You Lift
You cannot plan a safe move without a weight number. Estimate it as you sized the base: volume in cubic feet times about 170 pounds. A 500-pound piece is a two-person job with a dolly; 1,500 pounds needs three or four people, straps, and a mechanical assist. Anything over 2,000 pounds should not be moved by hand, that is machinery-mover or professional-installer territory.
Write the number down. Crew size, equipment choice, and whether you need a machine all follow from it.
Equipment and Crew Size Requirements
Never move a heavy monument alone. Plan one person per 400 to 500 pounds for any move involving lifting or pivoting, plus one person to spot and guide, a 1,200-pound monument is a three-person job minimum.
Equipment makes the difference between a safe move and an injury:
Heavy-duty dolly or hand truck: rated for at least twice the monument's weight. Furniture dollies are too weak and their small wheels catch on every seam.
Nylon lifting straps or slings: rated for the load, with a wide flat profile that spreads pressure. Chains and cable can mar or chip granite edges.
Pry bar and hardwood blocks: for shifting and cribbing, never for lifting a person's share of the load.
Sliders or furniture pads: protect surfaces during transport and let you slide rather than drag.
Gloves: work gloves for grip and protection.
A machine mover or gantry for anything over 2,000 pounds: a hydraulic machine mover, pallet jack on plywood, or a small gantry with a rated hoist. These are rentable in most areas.
For monuments over 2,000 pounds, rent a machinery mover or hire professional movers, they have equipment and insurance.
Safe Handling and Transport Techniques
Assess the monument before moving it and identify its center of gravity, monuments are often top-heavy or oddly shaped. Never let a piece lean past its tipping point; once a granite slab passes about 15 degrees off vertical, it is going down and you cannot stop it. Use a dolly whenever possible, secure the piece with straps, move slowly, clear the path of debris and tripping hazards, and use ramps between levels. Never drag a monument, roll or slide it on a protective pad.
Watch Out Never put any part of your body under a suspended or tilted granite piece, even briefly. Granite fails suddenly, not gradually, and there is no second chance to react. Keep hands and feet on the outside faces of the stone, never underneath it.
Protecting the Surface While You Handle It
Granite is hard but its edges are brittle, and its polished face shows every scratch. A few habits prevent most damage:
Set the monument on wood cribbing or dense foam, never directly on concrete or gravel.
Keep metal tools, pry bars, chains, dolly frames, off the polished face. Pad contact points with rubber or felt.
Wear clean gloves. Grit on a glove acts like sandpaper on a polished surface.
Wipe up any oil, grease, or hydraulic fluid immediately. Granite is porous enough that a spill can leave a permanent shadow.
When the Move Is Beyond DIY
Hire a professional mover or installer when any of these apply:
The monument weighs over 2,000 pounds.
The path involves stairs, slopes, tight turns, or soft ground.
The piece is tall, narrow, or top-heavy.
You do not have rated straps, a proper dolly, or enough people.
The cemetery requires a licensed or approved installer.
Professional installers have the equipment, experience, and insurance to do the job right. They know local regulations and cemetery requirements. They'll handle permits and inspections.
At Memorials Direct, we work with you one-on-one to design your custom granite monument. We can also connect you with trusted installers in your area who understand the care these pieces deserve. Our team has seen hundreds of installations succeed, and we know what works. When you're ready to move forward, we're here to guide you through every step.
How to Level a Stone Monument and Secure It
Once the monument is in place, leveling and securing it are critical. A tilted monument looks wrong and will fail structurally.

Positioning and Using Adhesive
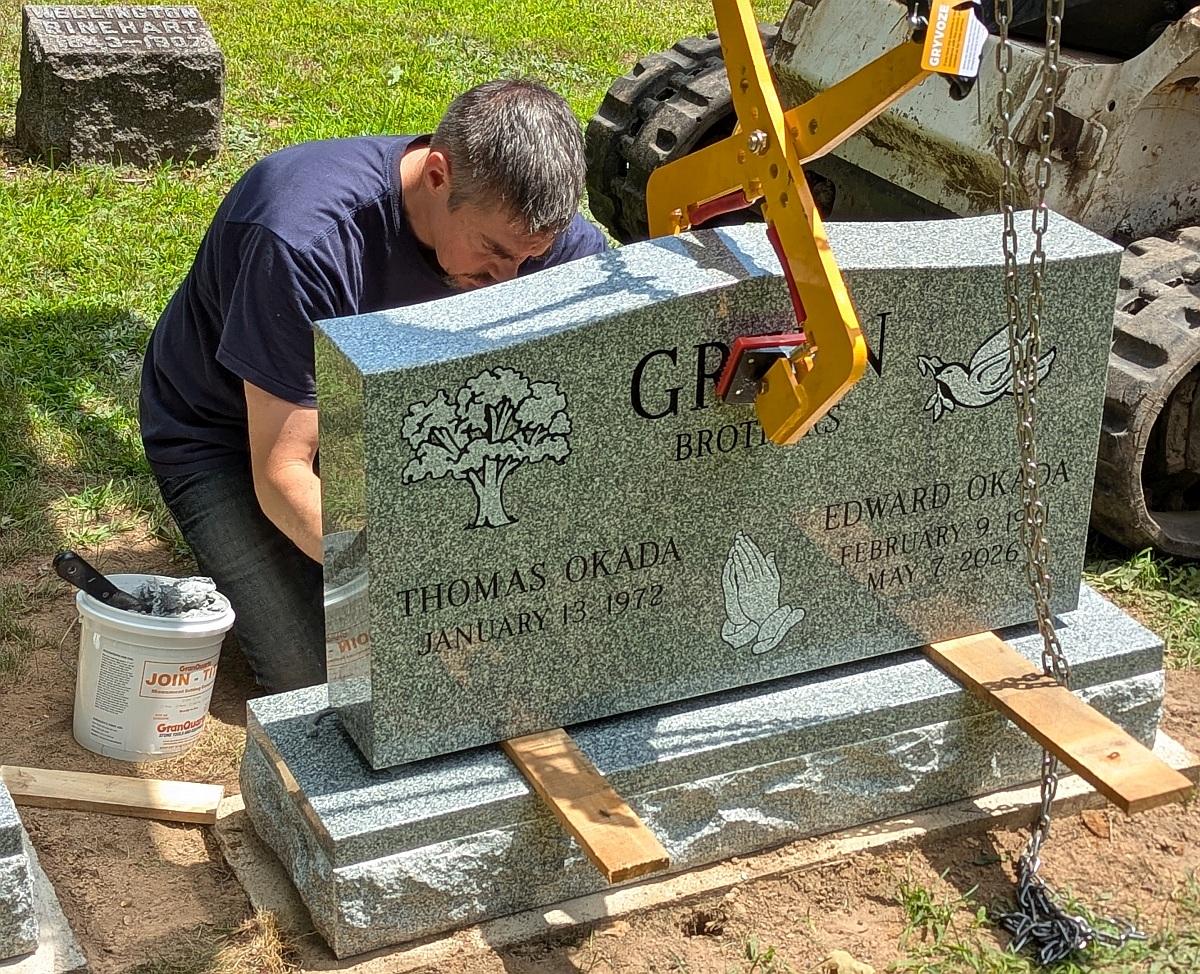
Set the monument on the concrete foundation and check it with a level in all directions, it should be perfectly level, front to back and side to side. If not, slide outdoor-rated slate or composite shims under the base until it is. Once level, apply an outdoor-rated stone or construction adhesive rated for granite to the foundation, spreading it evenly. Lower the monument carefully onto the adhesive and press down firmly, wiping the excess that squeezes out before it hardens.
Anchoring Against Wind and Movement
Wind can tip a tall monument, especially in exposed locations. The most common anchoring method uses stainless steel anchors or rebar driven into the ground beside the monument and bolted or strapped to the base. For smaller monuments with a wide, stable base, adhesive alone may suffice; for taller or narrower monuments, anchoring is essential. Install anchors after the adhesive cures, drilling holes in the base if needed, and use stainless steel bolts and hardware to avoid rust.
Outdoor Granite Memorial Maintenance
Granite is durable but not maintenance-free; regular care keeps it beautiful for generations.
Inspect twice a year for cracks, loose pieces, or movement, and address anything wrong quickly.
Clean annually with a soft brush and mild soap in water.
Check the base and foundation for shifting; if the monument has moved or tilted, contact a professional for repair.
In winter, avoid salt or ice-melt products near the monument. They can damage granite and cause staining.
When to Hire a Professional Installer
Some installations are too complex or risky for DIY work.
Hire a professional if:
The monument weighs over 2,000 pounds
The site has poor drainage or unstable soil
You're unsure about frost depth or ground conditions
The cemetery requires a licensed installer
You lack proper equipment or experience
The monument is unusually shaped or has delicate details
Professional installers have the equipment, experience, and insurance to do the job right. They know local regulations and cemetery requirements. They'll handle permits and inspections.
At Memorials Direct, we work with you one-on-one to design your custom granite monument.
Losing a loved one is hard, and honoring their memory with a beautiful, lasting monument keeps their spirit close.
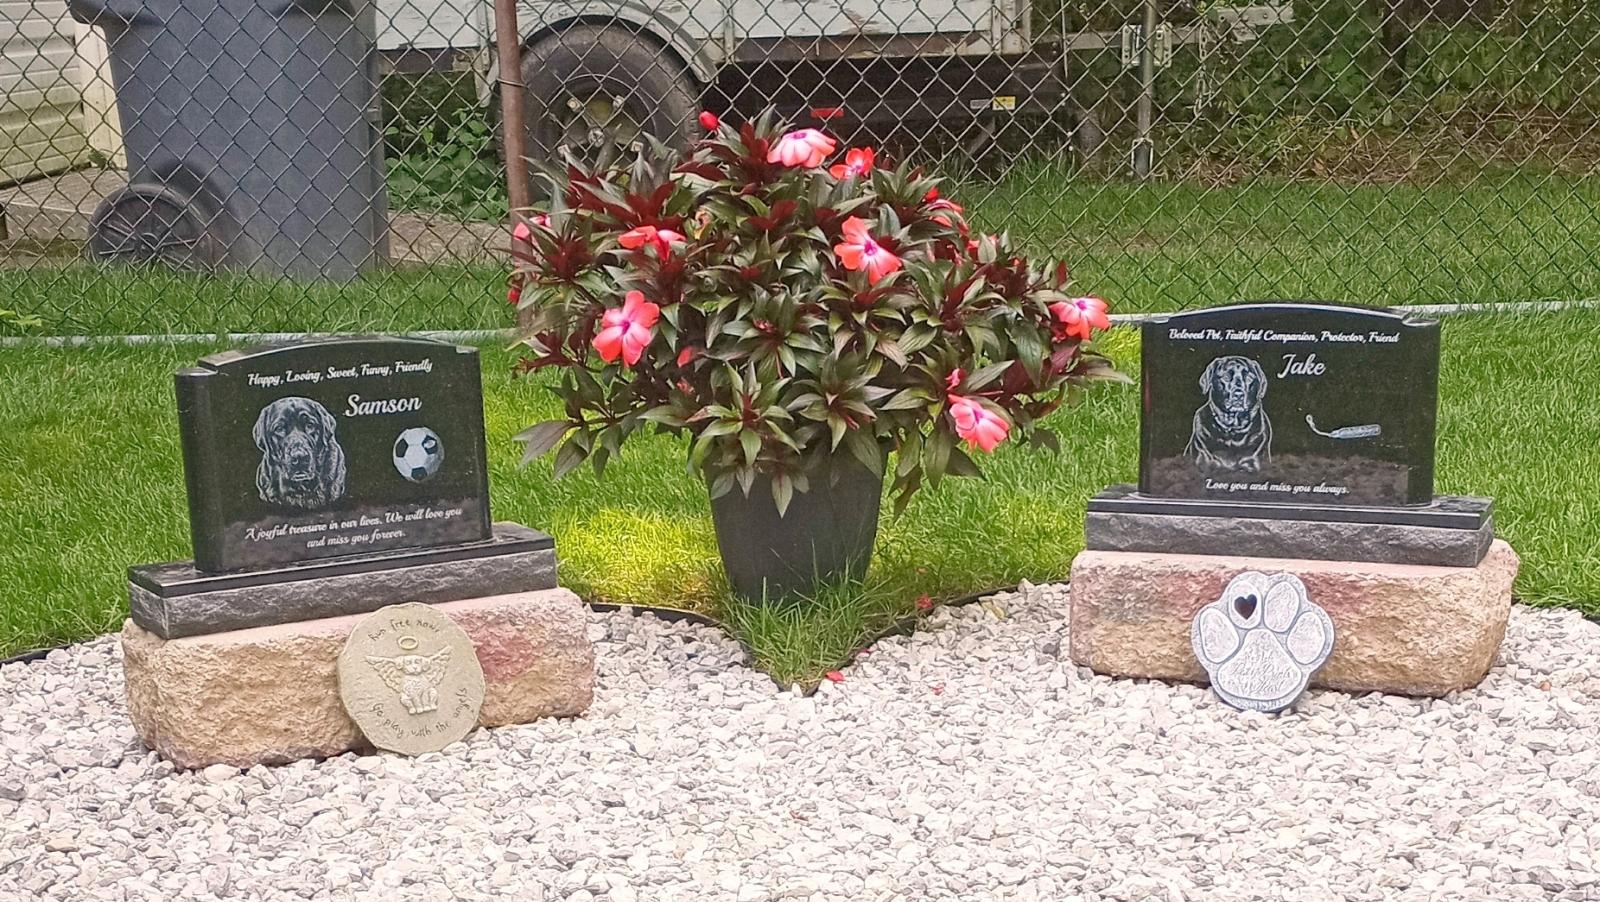
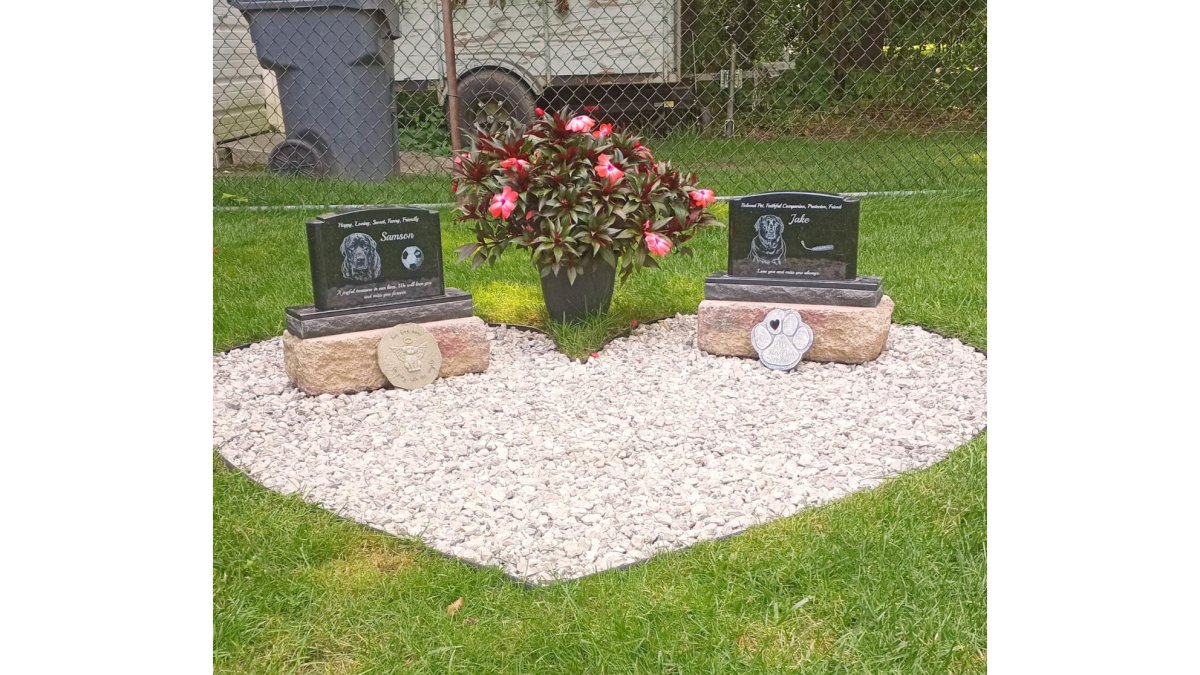
If you'd like help designing a custom granite monument that reflects your loved one's unique life, reach out to Memorials Direct. We specialize in personalized memorials for people and pets.
Frequently Asked Questions
How do you move a heavy granite monument safely?
Use a heavy-duty dolly or equipment dolly rated for the monument's weight. Secure the piece with padded straps to prevent tipping. Never drag granite, always roll it on a flat surface. For monuments over 500 pounds, hire professionals with proper lifting equipment. Ensure the transport path is clear and level to avoid damage to the stone or injury to handlers.
What kind of base does a granite garden monument need?
A stable base requires compacted aggregate (gravel or sand) at least 4-6 inches deep, topped with a concrete foundation. The concrete should be 2-4 inches thick and extend slightly beyond the monument's footprint. The foundation prevents settling and protects against frost heave in cold climates. Allow concrete to cure for at least 48 hours before placing the monument.
How long should a monument base cure before installation?
Concrete foundations should cure for a minimum of 48 hours before placing a granite monument on top. Full curing takes 7-14 days depending on weather conditions and concrete mix. Cooler temperatures and high humidity slow curing; warm, dry conditions speed it up. Wait the full recommended time to ensure the foundation can support the monument's weight without cracking or settling.
How do you maintain a granite garden memorial?
Clean your granite memorial twice yearly with mild soap and water, using a soft brush to remove dirt and algae. Avoid acidic cleaners and pressure washers, which can damage the stone's surface. Inspect the base and adhesive annually for cracks or movement. In harsh climates, check for frost damage or settling. Granite is durable, but regular maintenance preserves the engraving and prevents small issues from becoming costly repairs.
Contact Us
Comments